

Piet Zwart—Trio–Reclameboek, inside page 1931
- Intro to Letterpress
- Letterpress
- Letterpress Commons
- Letterpress Terms
- Distressed Type
- Distressed Type Applied
- Photographing your Designs
Artist/Designers experimenting with Letterpress and WoodType

We will be experimenting with letterpress typography with two, related but different projects at the same time. The first of them is focused on setting foundry (lead) type using more traditional methods of typesetting. Details of the letterpress foundry type assignment may be found HERE.
Details of the second assignment focusing on using Wood type may be found below.
Assignment: 7B Experimental Wood Type
Phase One—Hand Printed Wood Type
- Explore the possibilities of design from hand inked and hand printed wood type.
- Experiment with hand inked individual wood letters.
- Pay particular attention to repetition and rhythm positive and negative shapes as the ground is activated by positioning the letters closer together or overlapping the forms.
- Concepts such as repetition with variation, figure and ground relationships and rhythm are important to consider.
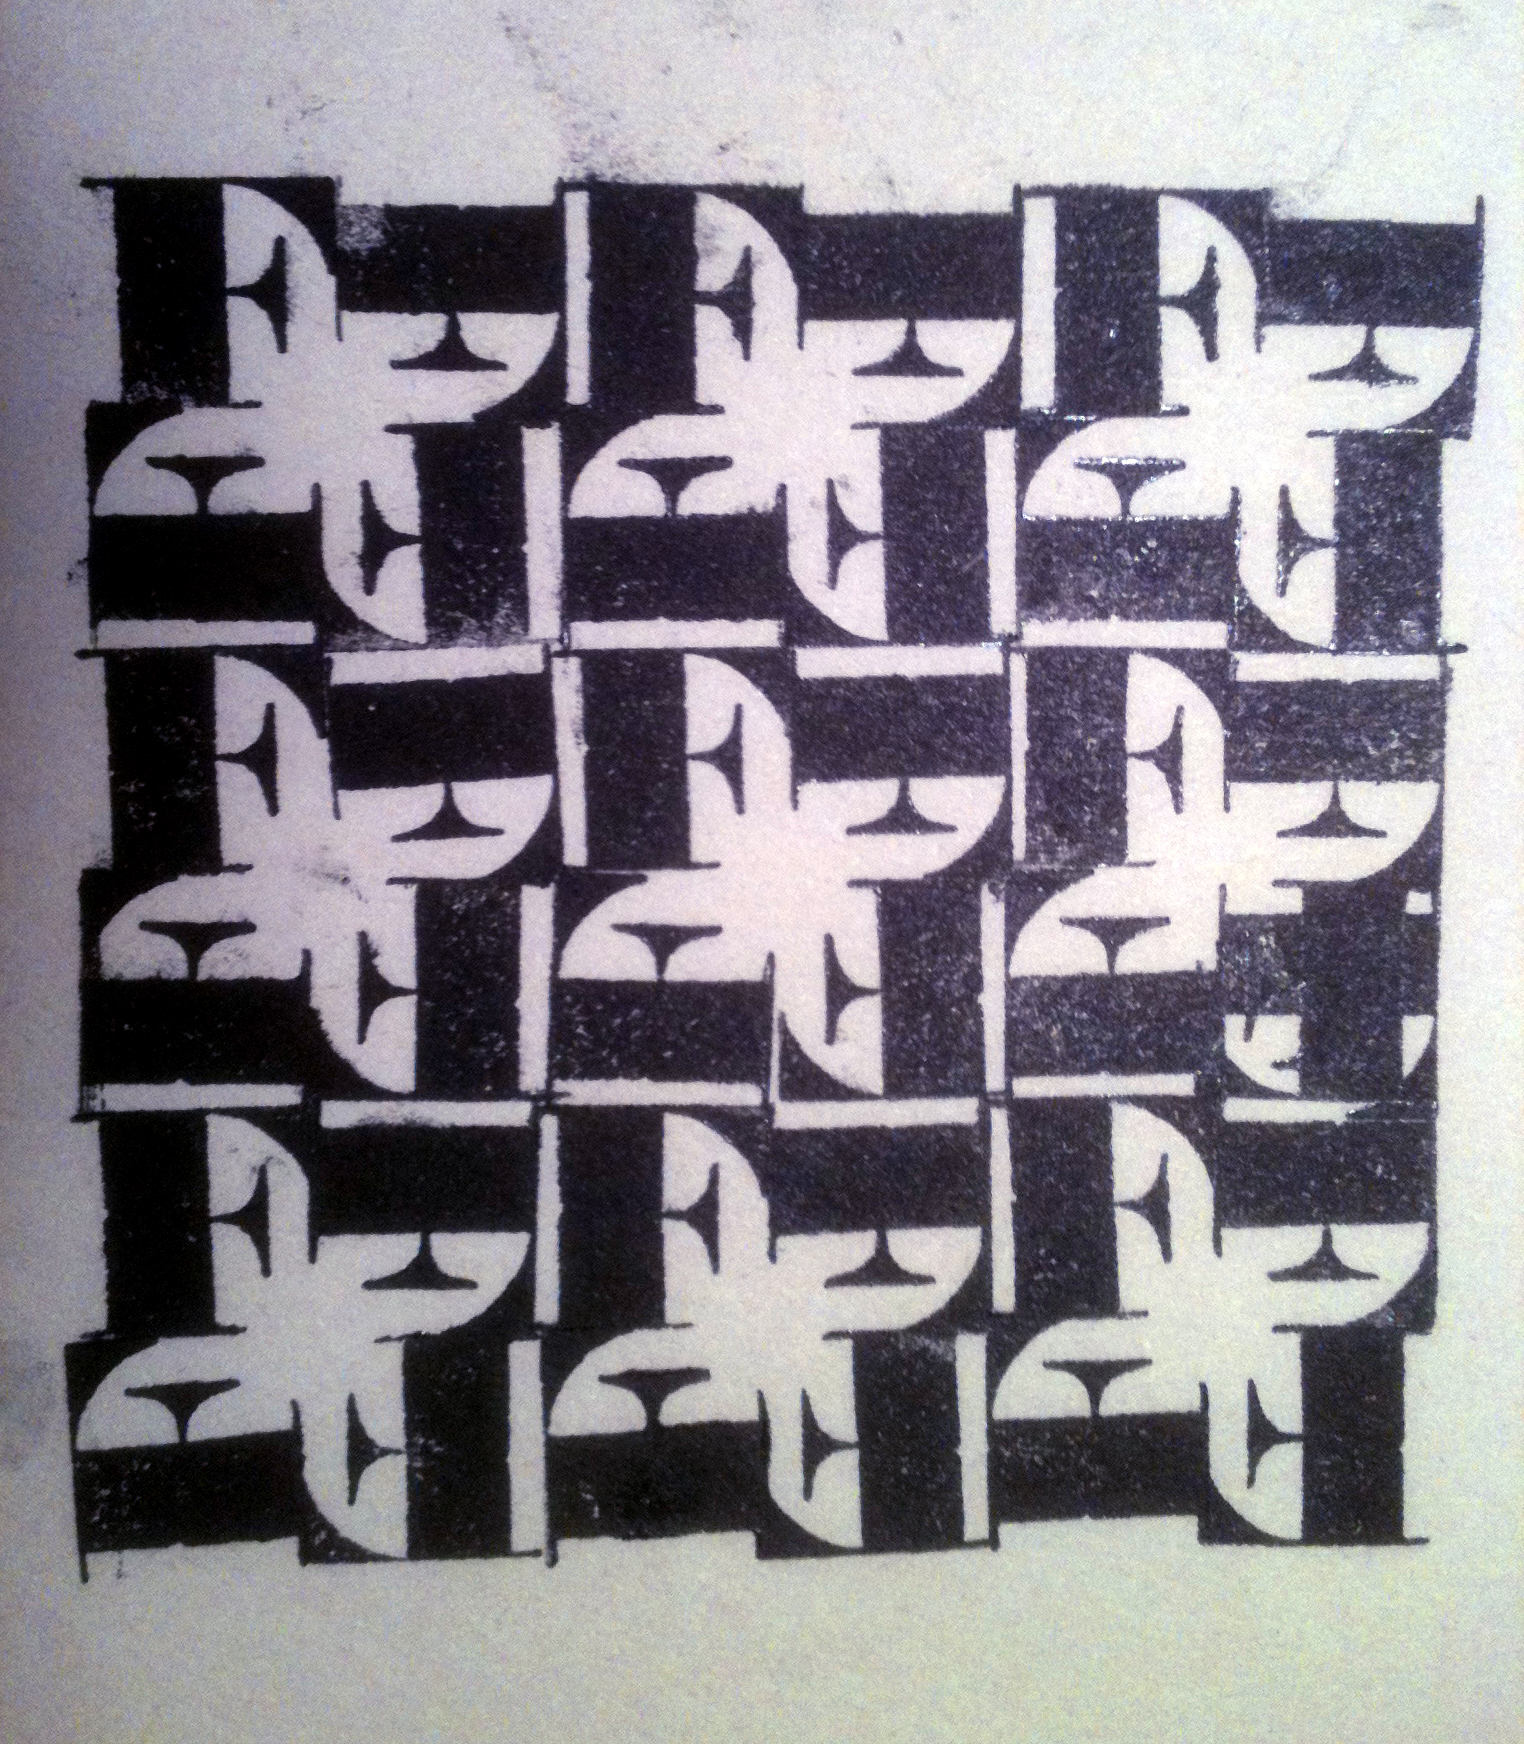
- We are not creating logos in this assignment. Patterns only. The term “lockup” in this case means a grouping or arrangement of no more than 4 letters. (You could be repeating a single letter within one lockup.) We will then use your favorite lockups and repeat them creating a tessellating pattern. That pattern in turn will be photographed for further manipulation in Photoshop and/or Illustrator.
- To clean ink, pallets, brayers and pallet knives we use environmentally friendly vegetable oil used first with pages from old Yellow Pages books, and final clean up with with rags or disposable paper towels.
- Wear disposable gloves to minimize clean up, but if necessary use Goop hand lotion first then wash with soap and water.

In this assignment we are also exploring the relationship between design experimentation as it eventually influences production process. Innovation as it influences invention and possible new directions. Pattern as it influences design.
Phase Two—Digitizing the Print
As part two of this experiment, scan smaller segments, parts or “Passages” of your letterpress prints as modular units. Import these into the computer. You may add effects or color shifts using Photoshop. Then, use Illustrator to repeat them as pattern, paying attention to the same general design concepts as before. In this version, you are also reflecting on the results of combining technologies (old-school wood type letterpress and contemporary digital applications). Print to the BFK Rives paper from the inkjet printer.
In Photoshop:
- To remove background>>unlock BKGRND>>select white with Magic wand>>delete
- Experiment with adjusting the image with
- Image>>Adjust>>Levels, Curves, Brightness/Contrast
- Selection>>Fill with Content-Aware
- Filter>>Render>>Lighting Effects
- Filter>>Stylize>>Solarize, etc.
- Layer Pallette>>options found under “Normal” for how layers interact with one another
- Save as PSD file to maintain any transparency and place in Illustrator
In Illustrator:
- Make use of Repetition with Variation=Pattern
- Option Copy
- Transform Each function (rotate, scale, move)
- Duplicate function
- Make with Envelope Distort
- Opacity settings and overlapping images


- The Digital Print is printed to a sheet of BFK Rives paper, 22′ x 30″. (check to see if your particular sheet has a watermark. If so, be sure to insert the paper so that the watermark and your print will both be right side up and right reading)
- Your print should be centered within a rectangular box that measures centered on the paper

- If printing from your laptop, be sure you have downloaded the correct printer driver first. (The printer we are using in this case is the Epson StylusPro 6000) Do a Google Search for Epson Stylus Pro Printer Driver to locate the correct one for your laptop.
- In the Printer’s Display window:
- select the “single sheet” icon.
- Select “FineArt Paper>>Watercolor” as the paper type
- The Display Window should now look like this below.

- Feed paper into the Manual Feed slot at the top of the printer. Use the line on the right hand side of the printer as your visual guide to line up the paper correctly. (If printing to paper with a deckle edge, position the paper so that the deckle overlaps to the right of the guide line.)

- Follow the normal directions for Digital Printing to the Epson Printers plus the following:
- Choose the “pro6000 Standard” profile from the “other profiles” option. Be sure to also make this same choice in the Color Management window.
- Select “Art Paper>>Watercolor” as the media type
- Select Manual Feed
Student Examples


Here is an example of pushing this process further.


OPTIONAL Phase Three—
you have a choice of applying your design to one of the following applications:
- a book jacket
- a box/package
Option 1—Book Jacket
This step requires you to narrow your digital experiments in Illustrator and Photoshop down to 3 designs. Carefully analyze each design. Ask yourself “what are the design’s main characteristics”. You should come up with a short list of at least 6 characteristics for each design. These lists might include words such as; bold, mysterious, expressive, playful or candy-like, licorice-like, fence-like, etc. Then, taking your cue from these lists, decide on a category of book (mystery, adventure, love story, comedy, satire, etc.). Finally, match your design (based on its defining characteristics) to one of these book categories (genres) and either redesign the dust jacket/cover for an existing book or make up a title for a book that could be in that genre.
Layout your dust jacket design in Illustrator. Use sizes from a real book that you own. The final size of each panel depends upon the size of the book that you wrap. (you will be wrapping the final print around this book for you to photograph, so it must fit). Consider the possibilities of a wrap-around design (one that extends across front, spine and back panels).
Pay particular attention to the following typography:
- Grouping and Hierarchy
- Use of Typographic Variables
- Line length (Apply the 40–60 characters per line rule of thumb)
- Avoid Typographic widows
- Nesting
- Printing with crop marks (otherwise known as trim marks)
- Print to Epson Printers


 Your dust jacket design must include 5 panels:
- front
- back
- spine
- inside front flap
- back inside flap
Your Dust jacket design must also include the following minimal information:
on the front
- Author
- Title
on the spine
- Author
- Title
- Publishing Company Logo
on the back
- bar code Generator screenshot (command + shift + 4)

- Publishing Company
on the inside front or back
- info about the author + picture + other books written by her/him
- info or short synopsis about the book/story
Option 2—Box/Package
Helpful Links
- What is a Packaging Prototype
- Packaging Prototypes
- Unique Packaging Presentation Kit
- Nesting Boxes
- Box Dielines
- Box Dielines (Part 2)
Packaging in General:
Buyers of packaging design can generally be broken down into five groups, and reaching the people in each of those groups is done differently. The groups are:
- Large consumer products (Procter & Gambel, American Home Products, etc.)
- Smaller, niche-market consumer products companies (small one-of-a-kind companies)
- Consumer product marketers ( they don’t actually make anything just market products made by someone else.
- Retail merchandising chains that carry private-brand products (independent local stores that are part of a larger chain
- Printers, converters and service bureaus that specialize in packaging
Look at your letterpress design and try to describe to yourself what are it’s characteristics. Once you have done that, the next step is to think of a product, company, object, concept or idea that would match up with that characteristic or visual look. At that point you should begin to think of the kind of box that might contain one of those things or something related to the company you have imagined.
A quality that might normally be used to promote a product such as:
- inexpensive
- durable
- long-lasting
- etc.
An emotion or feeling
An attitude, thought or idea such as:
- Pride
- Strength
- Creativity
- etc.
Use one of the following box templates:
- use an existing box template(not a bag template).from
- use one of the box patterns illustrated below
- You may also modify an existing dieline or other template to new dimensions that better fit with your concept or with your letterpress pattern.
- create your own custom template for a box
Place your choice of template in an Illustrator template background layer and create your layout above it using one of your letterpress patterns as the illustration.
Add appropriate factual information, to complete the design.


